17 Nursery Dreams
November 6, 2020
19 Sucker for Succulents
December 4, 2020Container Gardening, Part 3: How To
S ome people think throwing soil into a container and plopping in a plant makes for good container gardening procedure. Well I'm here to burst THAT BUBBLE!
But before I lay out the more effective (and proper!) how-to steps, take a look at what a successful container planting can do.
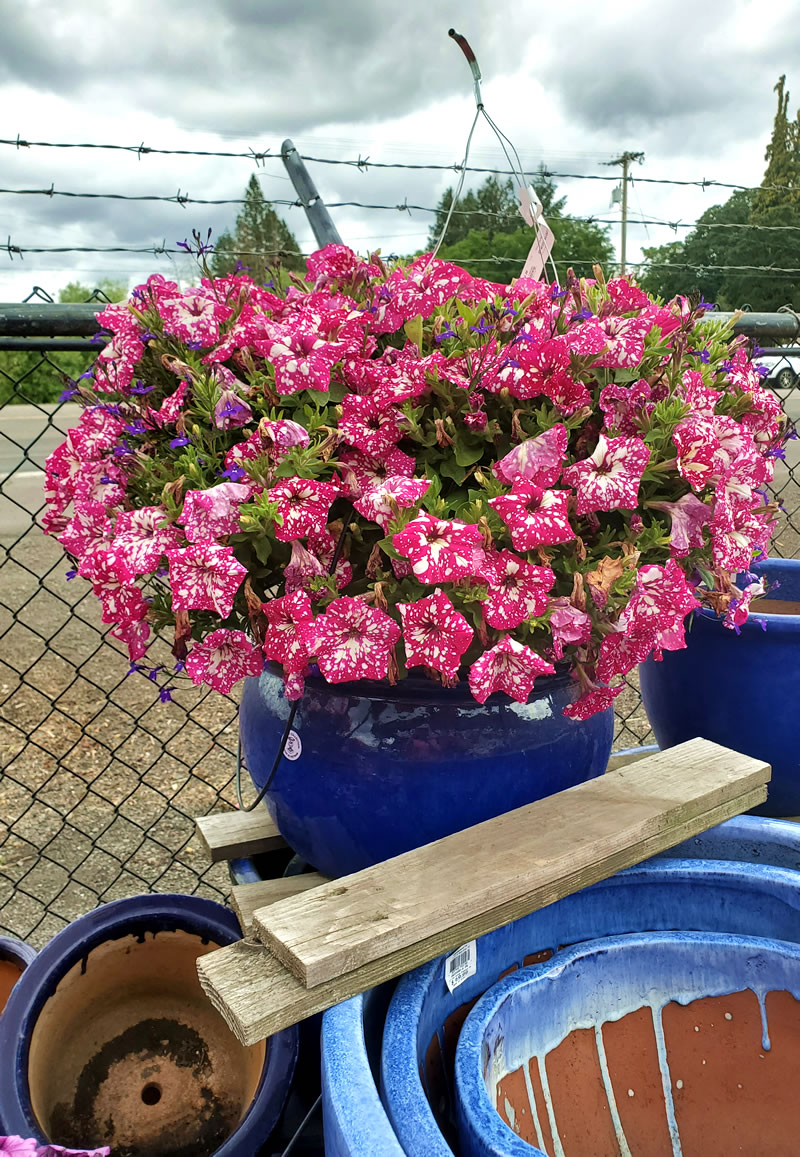
Petunia, Lobelia (unknown varieties)
A healthy beautiful container plant can dress up any garden, porch or deck. It can even distract the eye from that old ugly spot you've got—like a chain-link, barbed-wire fence!
A successful container plant—in other words a stunning one that stays stunning over a long time with minimal effort—requires a good beginning.
So! Here are my steps to that good beginning. (Ooh, I just know after you've followed them you will say to yourself, "That was so easy!")
Step 1
Place your container on pot feet, bricks, or blocks.
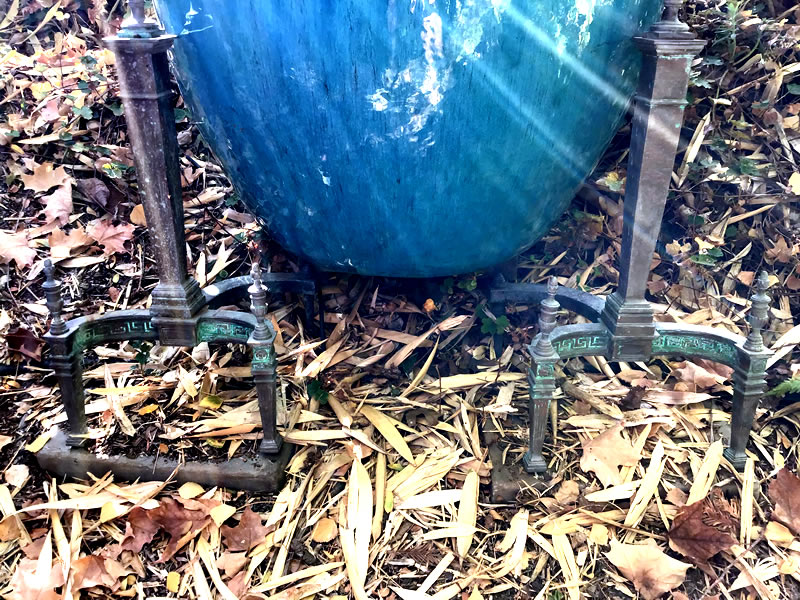
Fireplace andirons as pot feet. (Sun rays streaming through the trees—beautiful.)
That's one creative way to do it!
You need to elevate your container for drainage, for air flow and to keep from damaging or staining concrete or decking material underneath.
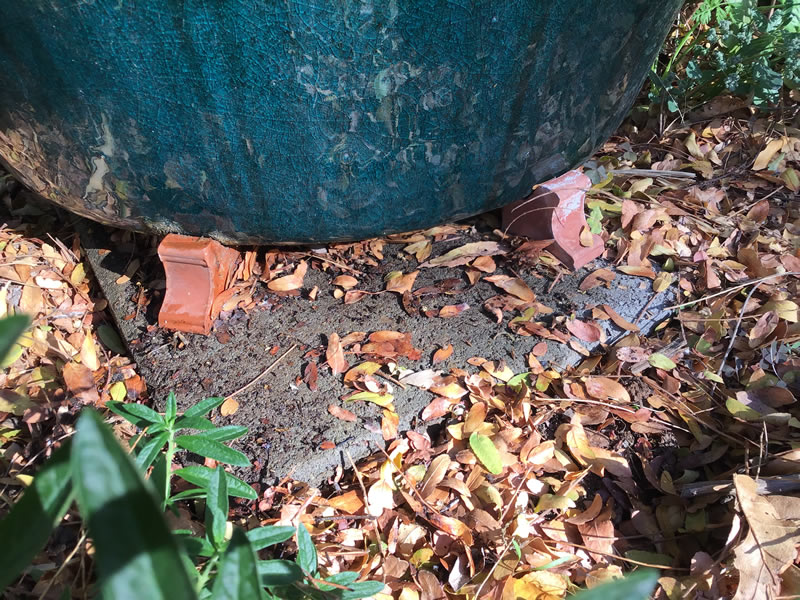
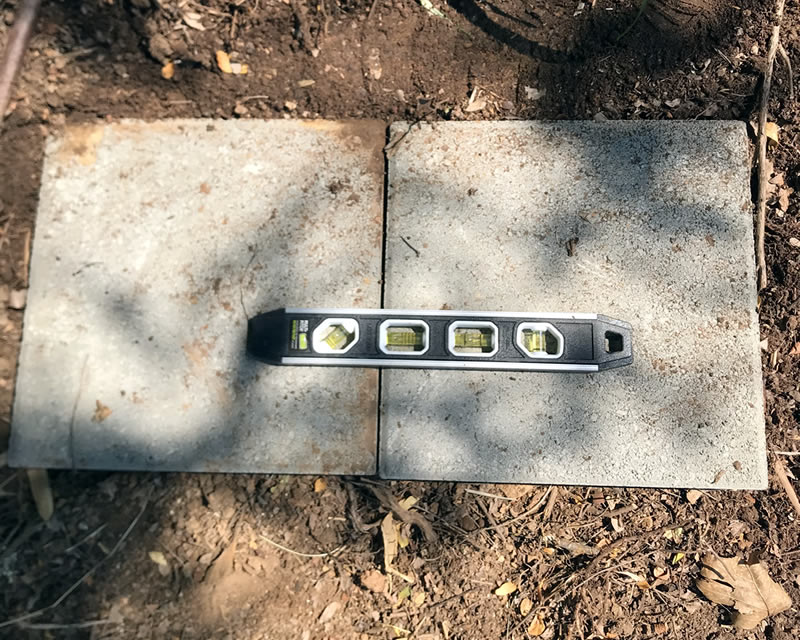
If you want to place a container directly on soil, first put down some cheap concrete or 12- to 18-inch stepping stones for the pot feet to sit on.
This keeps roots from nearby trees and plants from getting into the container hole at the bottom. Those sneaky roots just love that nice container soil, don't they?! I have learned the hard way that, over time, migrated roots grow bigger until they plug container holes. Look, I am here to help you, and you might think concrete or stepping stones is not that necessary. But please just do it. You will thank me.
And For The Love of Plants, level your containers!!!
Step 2
In the bottom of the empty container, place window screen or mesh (1/4-inch grid) over the holes for drainage.
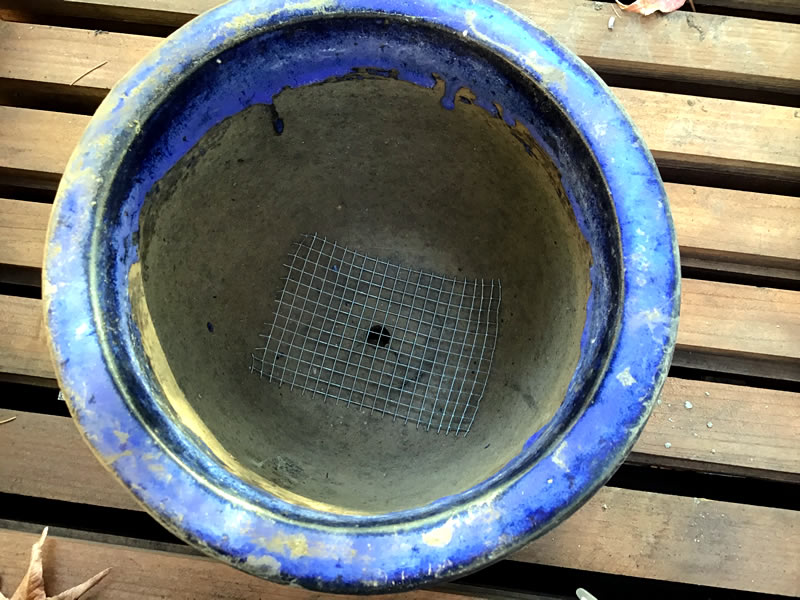
Mesh is best. Don't use pebbles or rocks because, due to soil movement and compaction, over time they will get lodged in the hole and plug it up.
If there is more than one hole at the bottom, before adding soil, feel free to run a 1/4-inch line for irrigation. If you do, consider that irrigation runtime and frequency for containers is different than for ground irrigation so you MUST give them a dedicated irrigation valve/station. If you don't...well, that's a very BIG pet peeve of mine, and you better hope I don't find out what you've done.
Step 3
Fill the container partway with potting soil. But measure first by suspending the nursery pot inside the empty container. Position the plant's crown (where the stalk or stem comes out of root ball) 1-inch below the top of the container.
You're going to fill the container with soil up to the level where the bottom of the root ball will sit. So mark the container or make a mental note.
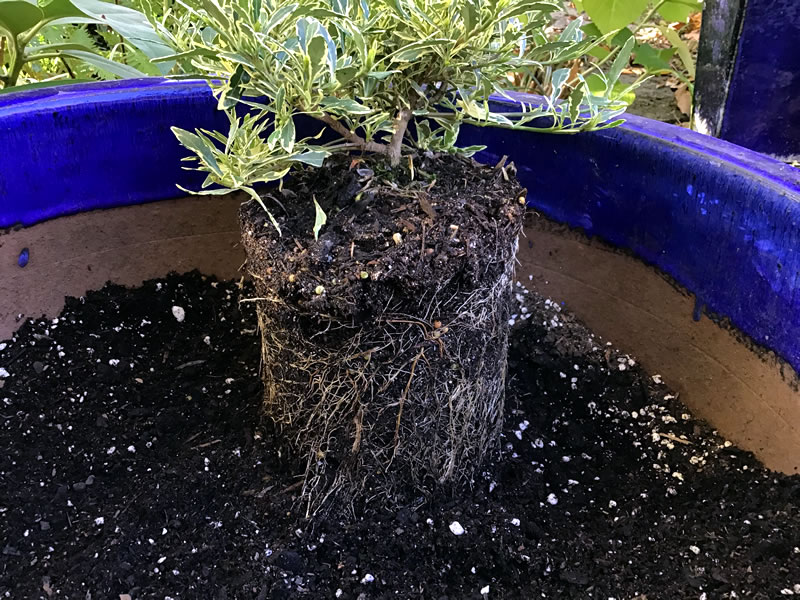
That 1-inch space will allow for an irrigation line or hand watering.
Before you fill that container though, let's talk soil!
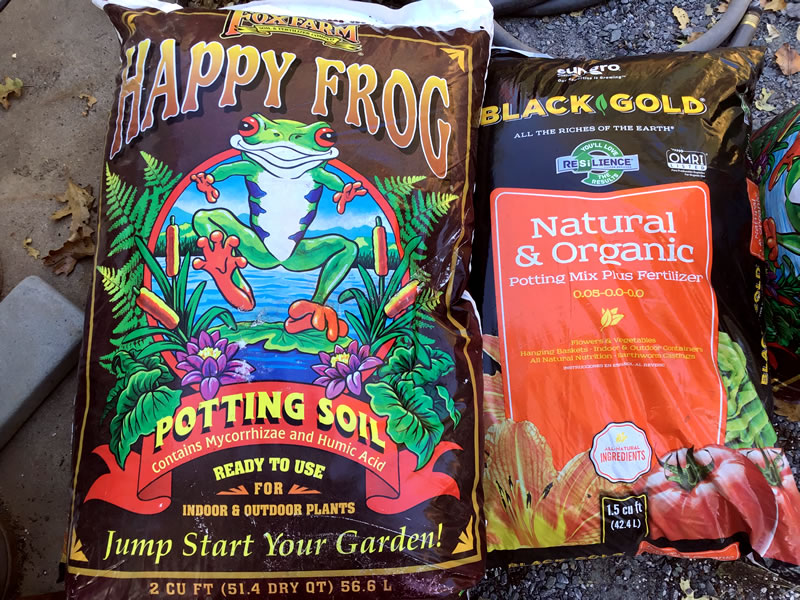
My GO-TO gardening soil.
First, do not EVER put soil from your yard into a container or raised bed. Those soil particles are too heavy, causing compaction, cutting off aeration and limiting or preventing drainage. On landscape consults, time and time again when I see unhealthy suffering container plants, all I have to do is try lifting the container. The dead weight is a dead giveaway—YARD SOIL!!!
“I was trying to save money on potting soil,” is the excuse I get. My answer is "So how is that working out for you and your sick and dying plants?"
Okay...PET PEEVE AHEAD...
During a recent landscape install, we had to break a container to get the shrub out to put it in the ground. Look what we found...
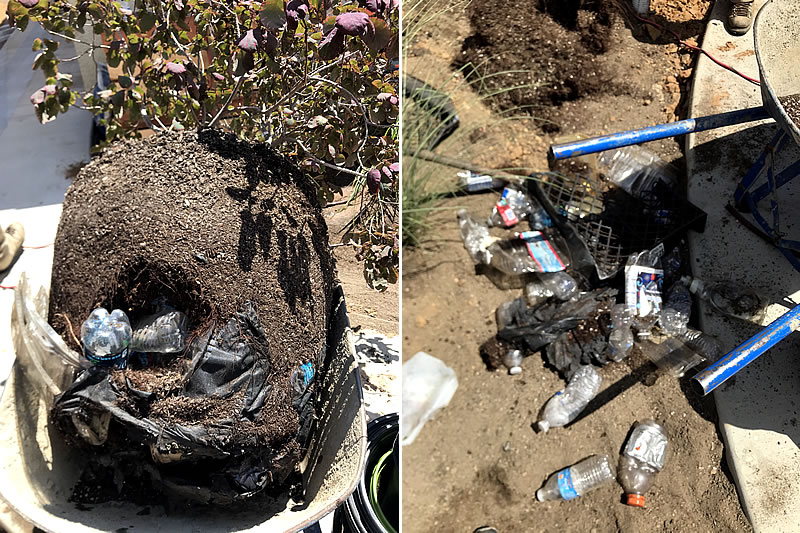
OMG, garbage!!!! My crew and I just stood there shaking our heads. I snapped a photo and sent it off to my client on vacation and asked, "Who did THIS?!"
People, DO NOT put plastic bottles, Styrofoam or even "recyclables" in the bottom of containers to save even 1-dollar on soil. Even if all over Google it says it's a good idea. We don't want plastic in our landfills so why would we bury it under our plants?
Besides that, with water there's this scientific thing called cohesion. (I went to college to learn this stuff, so listen up!) Water sticks to water and surrounds the soil so that the roots can drink it up. Garbage (like rocks) lets water run through and drain out the bottom which is called adhesion. Now you're wasting water too!
Eventually, soil will fill up the spaces between and everything in the container will sink, and you'll have to re-do the whole thing.
For Plant Sake!! Just cough up the money for decent soil to fill the entire container in the first place.
That said, if plants in large containers do not need so much root space and you feel you must save on soil, use an insert such as a nursery pot or other cheap plastic pot from a store. I will do this if I am only using that container for annuals—since I will be changing them out every season—or for very small perennials.
...END PET PEEVE...
Step 4
As you fill the container to the root ball level, moisten the soil by adding water and stirring. I use the jet-spray on my nozzle and spray in a grid pattern until water starts to drain out the bottom.
This step "de-fluffs" the soil and wets it throughout. If you skip this step, waiting to water after you install plants, the soil and the plants will sink down into the container. Plus, how else will you know if you've wetted ALL the soil?
If using a large container—say 30-inches tall or more—fill with soil and water in thirds to ensure all soil has been moistened. Because over time soil compacts, and because roots need air, I also throw in some small lava rock at each third level to create small air pockets.
Step 5
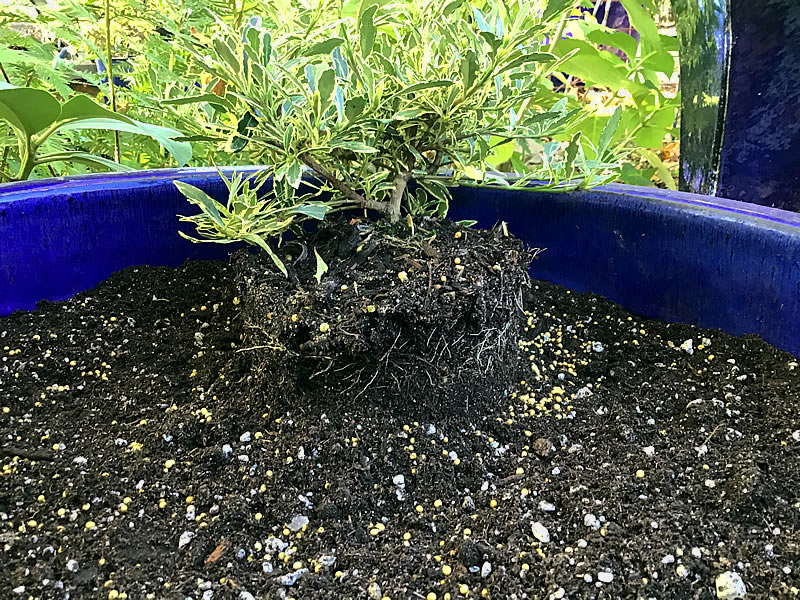
Add soil to half-root-ball level. Again, making sure to keep the crown 1-inch from top of container.
Step 6
Sprinkle with slow release fertilizer. I use Osmocote "Flower & Vegetable."
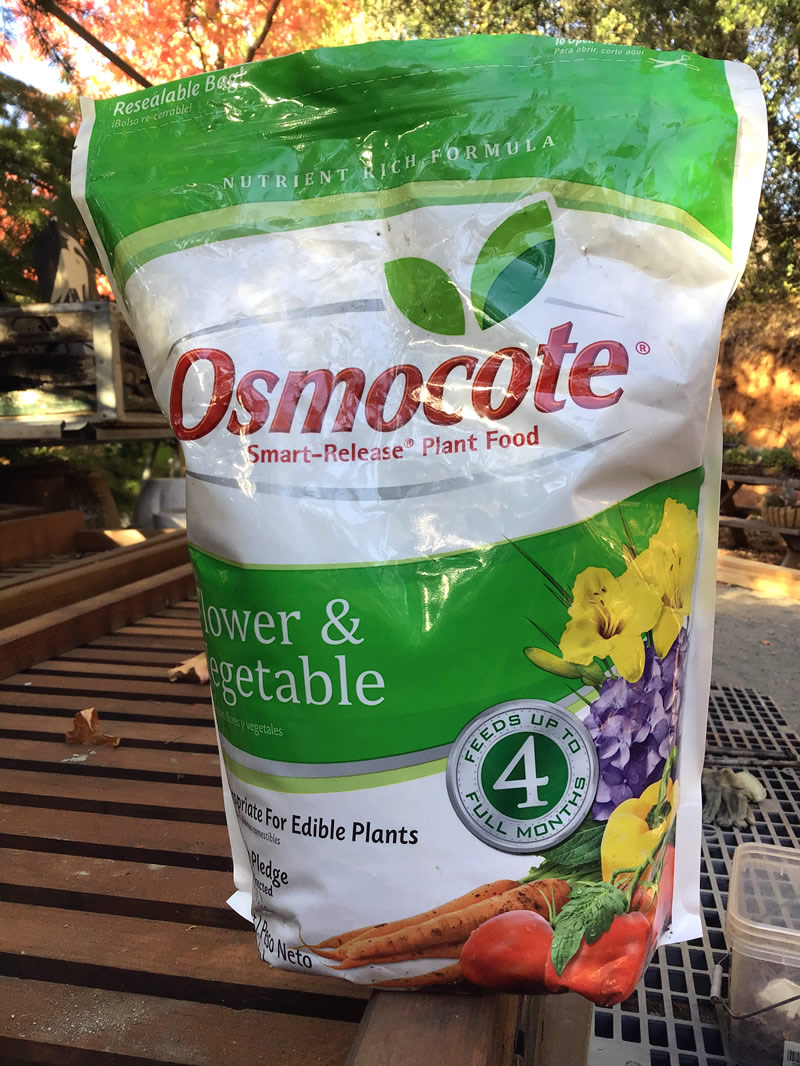
This gives the plant a 4-month feed. But because daily watering leaches out nutrients faster in containers than it does in the ground, I also fertilize monthly using Fish Emulsion & Bat Guano during the plant's growing season.
Step 7
Add remaining soil to 1-inch from top of container which should be level with the crown.
Step 8
Water thoroughly until it drains.
And while I'm on the subject of watering...
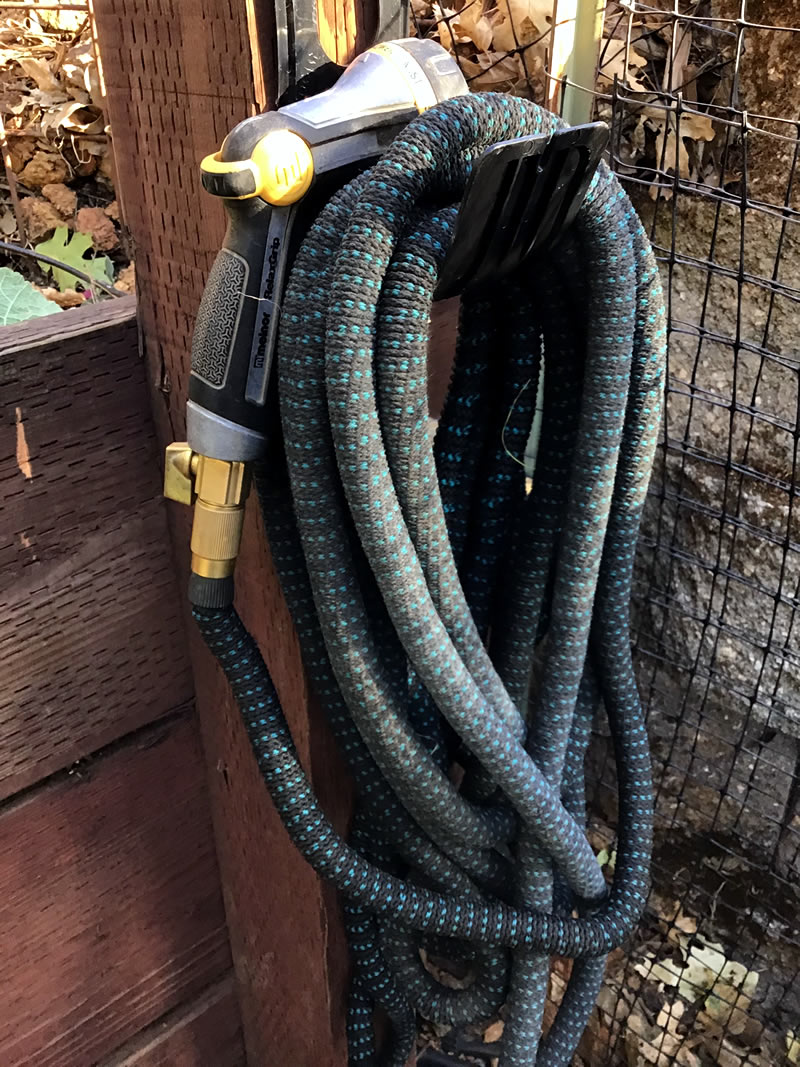
OMG, would you all please buy a proper hose and nozzle that does not drip, leak, kink, curl, is too short, clogs...oh, need I go on? So ANNOYING!!
Which reminds me.... While on my travels, I use to leave my kids in charge of watering my containers. And I'd come home to find dried soil on the sides of containers and splattered onto neighboring containers and plants. The kids—obviously bored with this chore—would use the jet spray thinking it would water more quickly!! (It’s exhausting finding good help.)
Okay. With steps 1 to 8 followed correctly, you are ready for the final step.
Step 9
ENJOY!
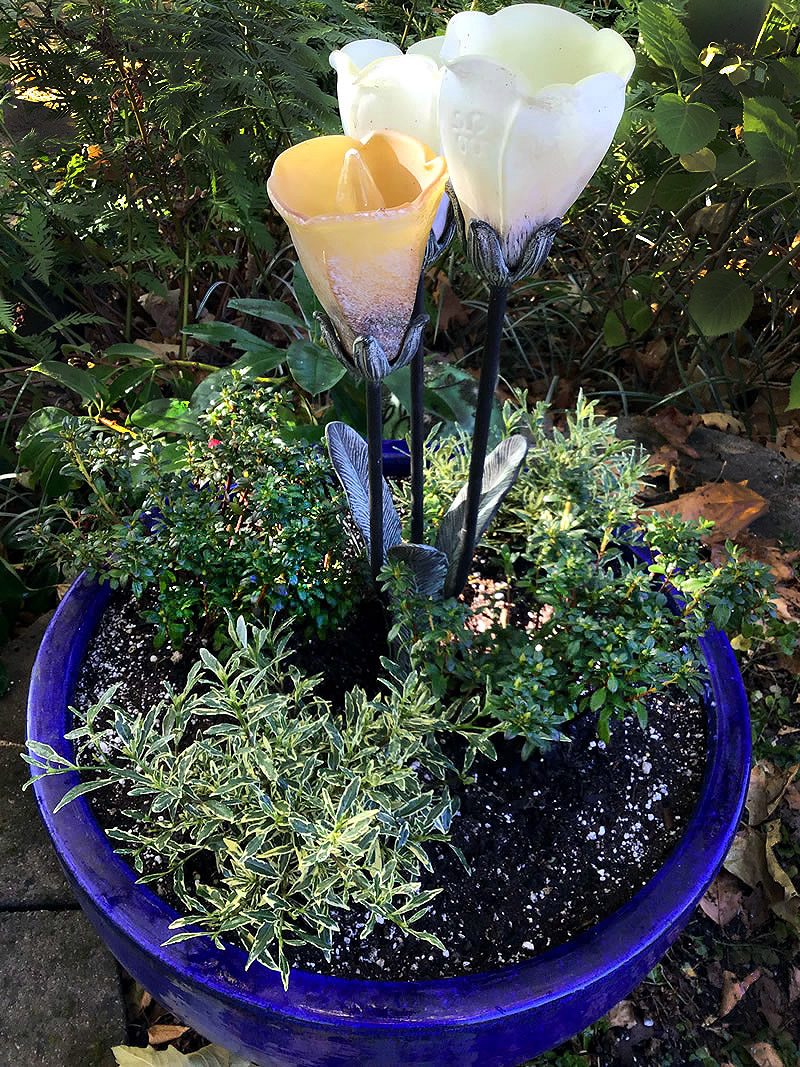
Azalea satsuki 'Cherry Drops', Gardenia J. 'Radicans Var.'
Lights by Stonemanor Lighting
Photos courtesy Sheri Lynn Burke. All rights reserved.

